
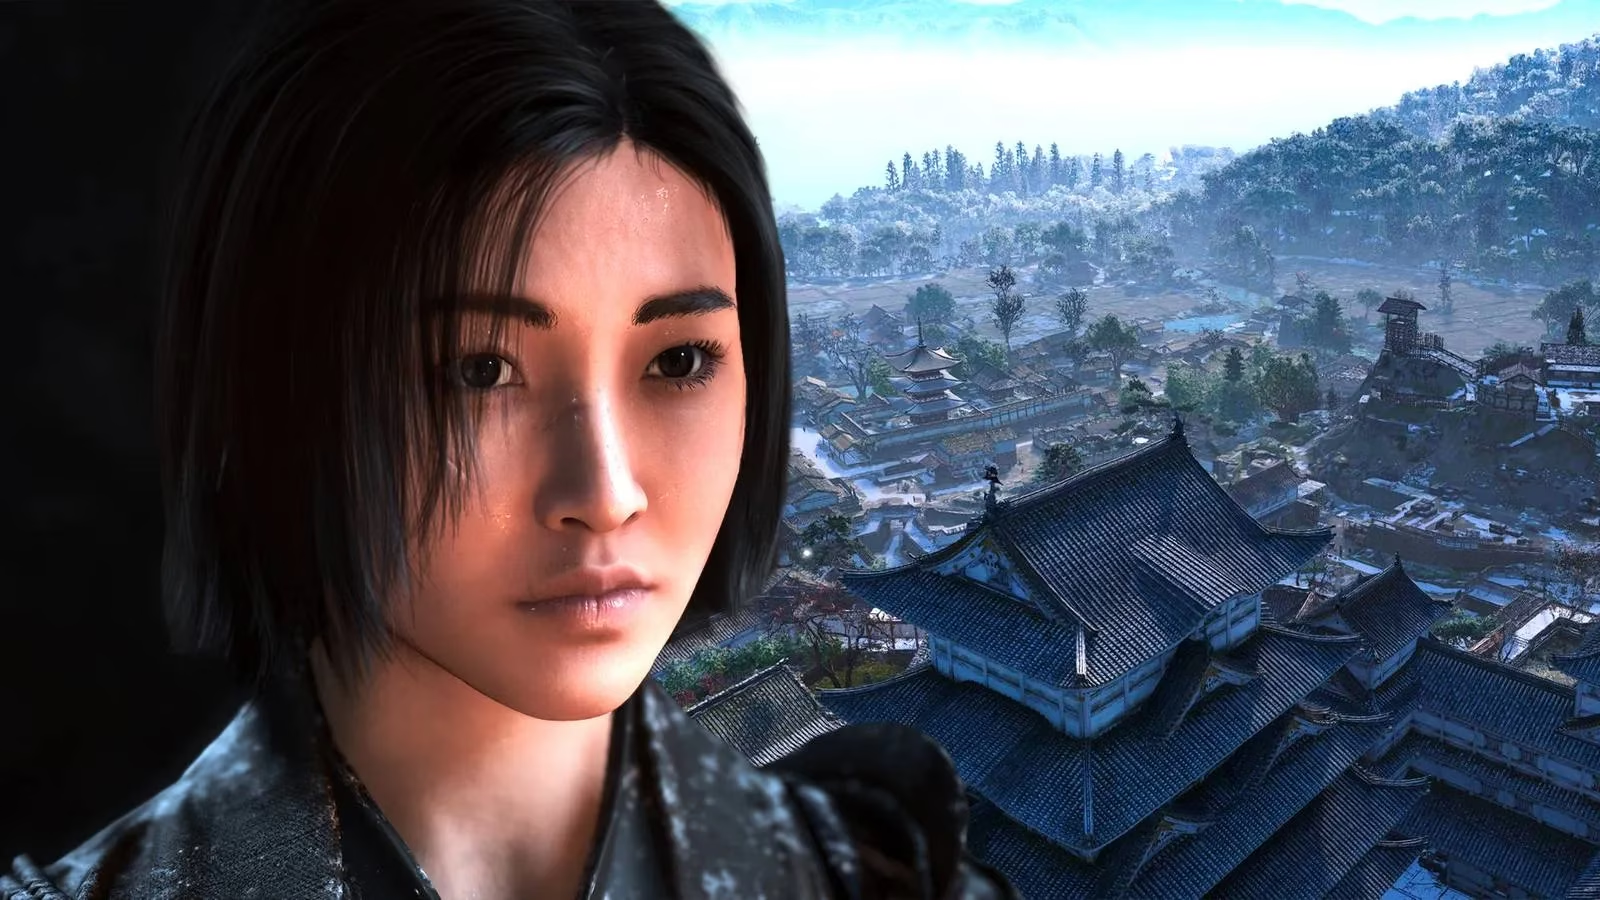
Himeji Castle looms over the Harima region like a fortress ripped straight from a samurai epic, its layered roofs and towering tenshu daring any would-be infiltrator to try their luck. In Assassin's Creed Shadows, this iconic Japanese landmark is more than just a pretty backdrop—it’s a playground of peril and reward, stuffed with five elusive samurai daisho, a legendary armor piece that’s the bee’s knees for parry enthusiasts, and enough loot to make a pirate blush. Running in headfirst with Yasuke might sound like a power move, but the real magic happens when Naoe takes point, sticking to the shadows and picking off targets like a ghost. Since the game’s 2024 launch, veterans have cracked the code on the slickest route through the castle, and it’s high time to lay out the blueprint.
Getting Your Bearings
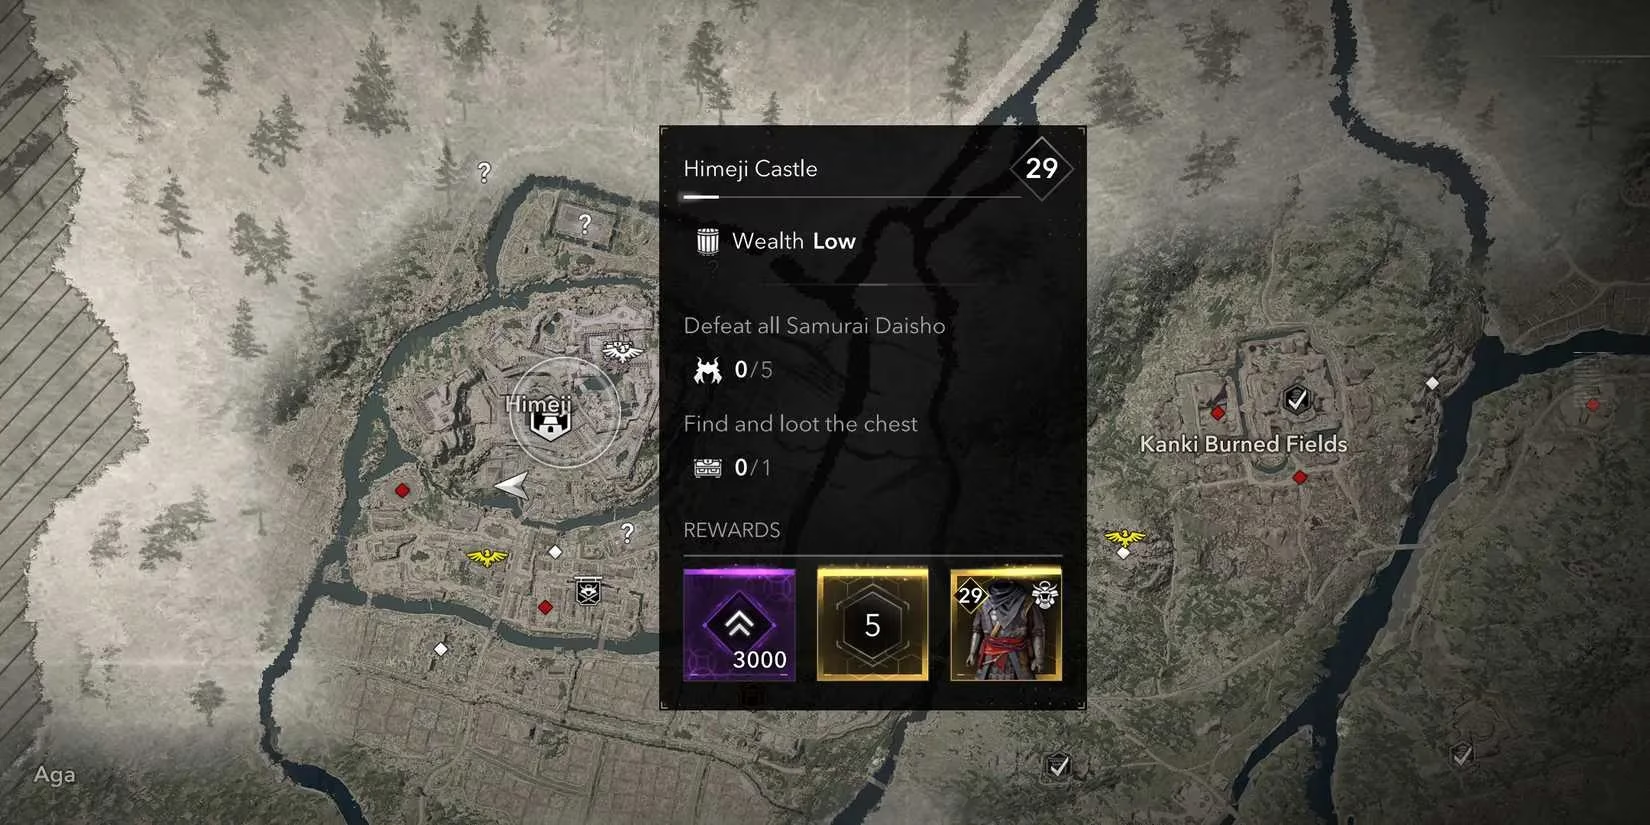
Before anyone unsheathes a hidden blade, it’s worth pinpointing this beast on the map. Himeji Castle sits in the southwestern corner of the Harima area, hugging the coast not too far from the starting region of Izumi Settsu. Players who wander over fresh off the boat will likely get their clocks cleaned—this place means business for characters around level 30 and above. Once Naoe or Yasuke have cut their teeth on missions near Amagasaki and Takatsuki, the westward trek becomes a walk in the park. Approaching from the south offers the cleanest entry point; just east of the main gate, a couple of handy scaling spots let agile climbers slip onto the outer walls without raising an eyebrow.
Stalking the Daisho: A Five-Step Waltz
The core challenge here is neutralizing all five samurai daisho, and doing it with Naoe’s finesse turns a potential slog into a symphony of silent takedowns. Here’s the lowdown on where each one holds court, mapped out in a logical kill order that keeps the heat off.
- The Courtyard Target (Western Wing)
After scaling the southern wall, head left into the western wing’s outer courtyard. This area is practically gift-wrapped for a quick assassination—explosive barrels are scattered around like party favors. The first daisho patrols right among them, so a well-timed kunai to a barrel or a direct drop from the roof makes short work of him. It’s almost too easy, a real “thank you, next” moment.
- The Banner Sentinel (Northeast Corner)
Stick to the outer wall rooftops and shimmy along to the northeast section. Here, the second daisho waits beneath a cluster of flapping banners, blissfully unaware. With the right gear boosting assassination damage, Naoe can plummet from above and send him to the great beyond before he even thinks about drawing his sword. No muss, no fuss.
- The Southeastern Guardian
Loop down to the southeastern end of the castle, just west of the scenic pond. This daisho lurks near a building, often with a buddy or two in earshot. If the initial stab doesn’t finish the job because guaranteed assassination is turned off, it’s no sweat—just duck back into cover, wait for the alert to fizzle, and circle around for take two. Patience here is a virtue.
- The Red-Wood Rumble (Northern Bridge)
Moving north, the fourth daisho plants himself on a striking red wooden bridge. This guy is a real tough nut to crack—he’s tankier than the others. If Naoe’s assassination perks aren’t up to snuff, the best bet is to attack from behind while he’s isolated. Even if the fight spills into the open, the bridge’s seclusion means backup is slow to arrive, giving enough time to chip him down with poison or rapid strikes.
- The Tenshu Summit (Central Tower)
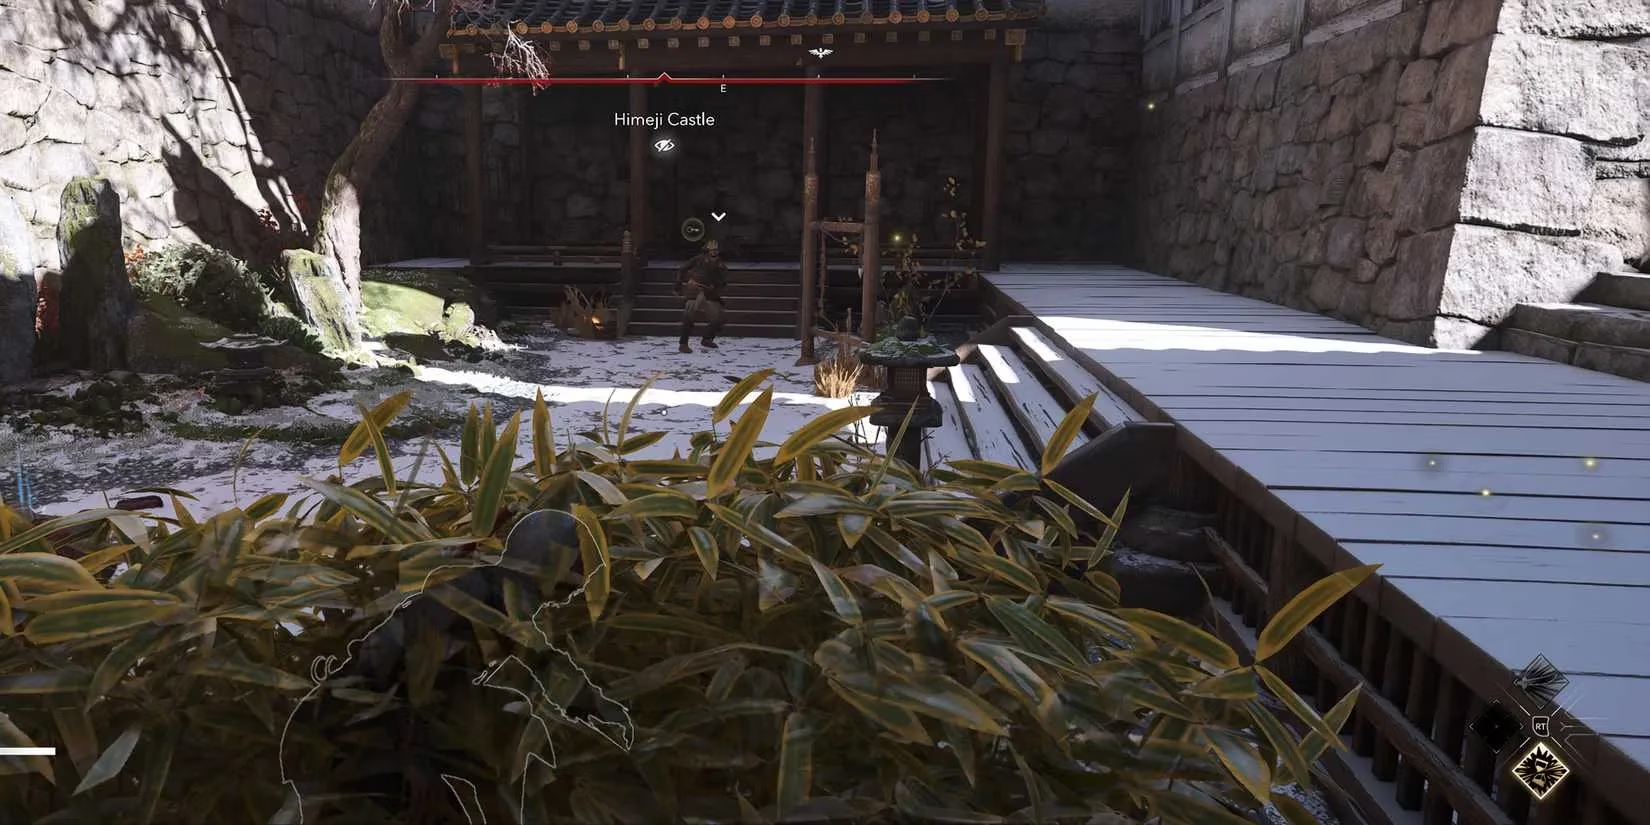
The last daisho hangs near the top of the main keep, right by the viewpoint. Despite eagle vision drawing a blank, he’s easy to pinpoint once players know where to look. Scale the outside of the tenshu, pop open the roof hatch, and drop down a floor. There he stands, back turned like a sitting duck—another silent takedown that feels as smooth as butter.
The Legendary Loot: Defense Master Clothing
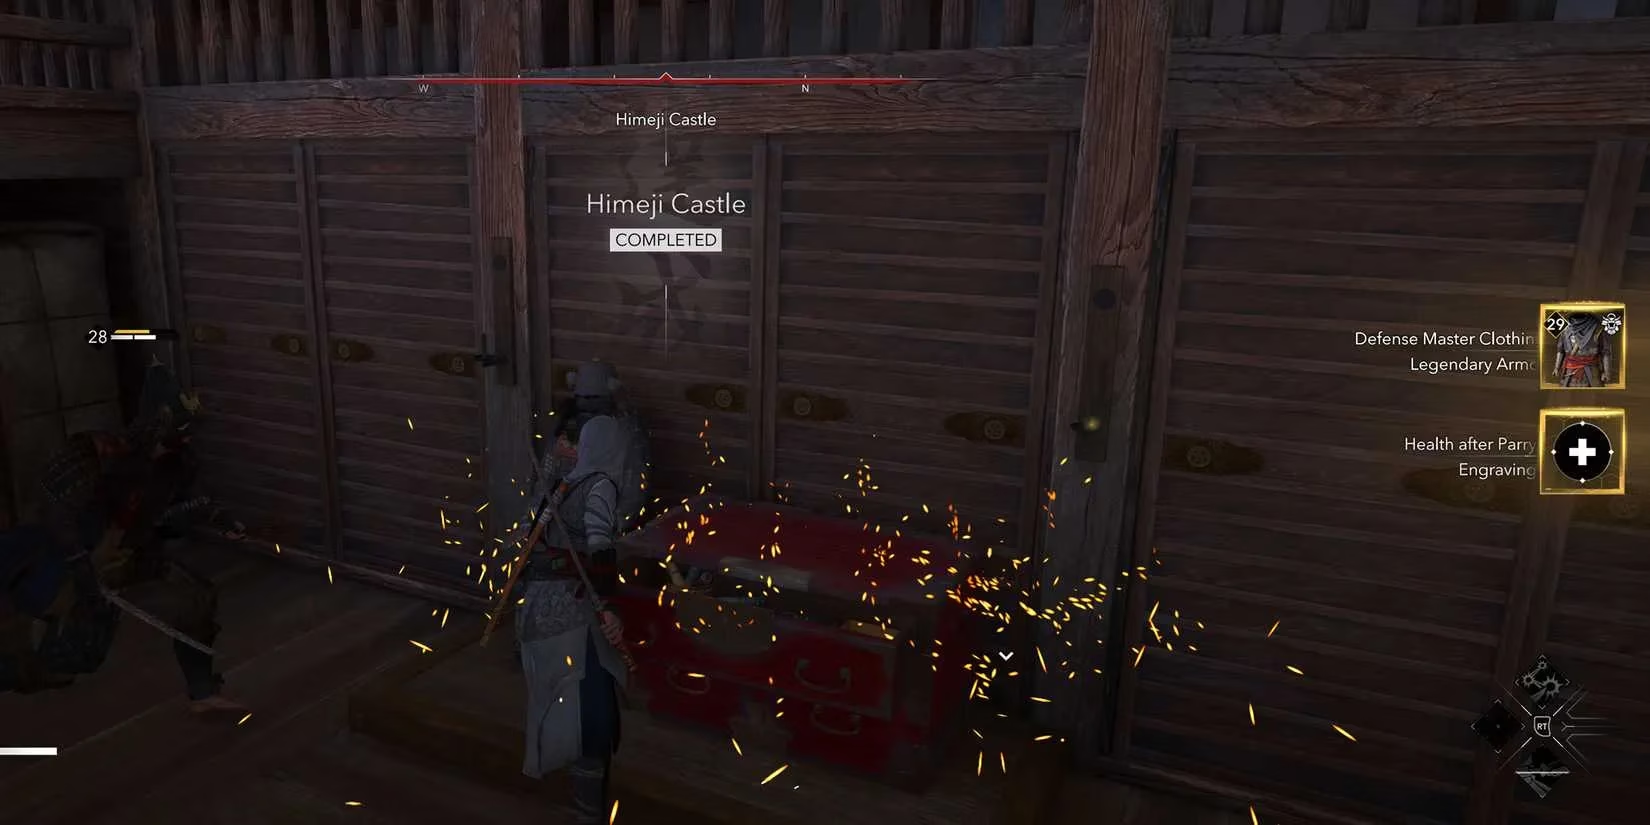
Once all five daisho are history, the real cherry on top awaits inside the tenshu. Descending a few more floors reveals a room guarded by two watchful soldiers. The smooth move here is to dive-assassinate one from the floor above, then clean up the other in open combat. Popping the legendary chest rewards players with the Defense Master Clothing, a cool 3,000 XP, and the Health After Parry Engraving. This armor is a godsend for Yasuke fans who love timing their parries like a Sekiro pro—each successful parry restores 10% health, turning defensive play into a healing extravaganza. Dodge-heavy players might raise an eyebrow, but for parry kings, it’s the cat’s pajamas.
Scooping Up the Side Loot
While the main prize is the star of the show, leaving without snagging the extra goodies scattered around is like skipping dessert. A mid-sized chest rests in a building right near the southern entrance, practically begging to be looted on the way in. Later, along the eastern wall, another chest is ripe for the picking as Naoe circles back after handling the perimeter daisho. And don’t sleep on the tenshu itself—its upper floors hide additional chests that add some nice padding to the resource stash.
For completionists with an eye on the storage sheds, the kura key is a must-grab. It’s tucked away in a guarded alcove right beside the tenshu’s main entrance. Snatching it requires a bit of sneaky maneuvering, but the payoff is enormous: those heavy double doors in the tenshu basement swing open to reveal a mother lode of resources and a bonus chest. It’s the perfect final haul before Naoe or Yasuke vanishes into the night, leaving Himeji Castle a little emptier and a whole lot quieter.
In the grand scheme of Assassin’s Creed Shadows, Himeji Castle stands tall as both a tough nut to crack and a treasure trove that’s absolutely worth the effort. Whether players stick to a ghost-like Naoe run or bring Yasuke’s brawn to the party, mastering its layout and daisho placements is the key to walking away with some of the game’s slickest gear. Happy hunting!