
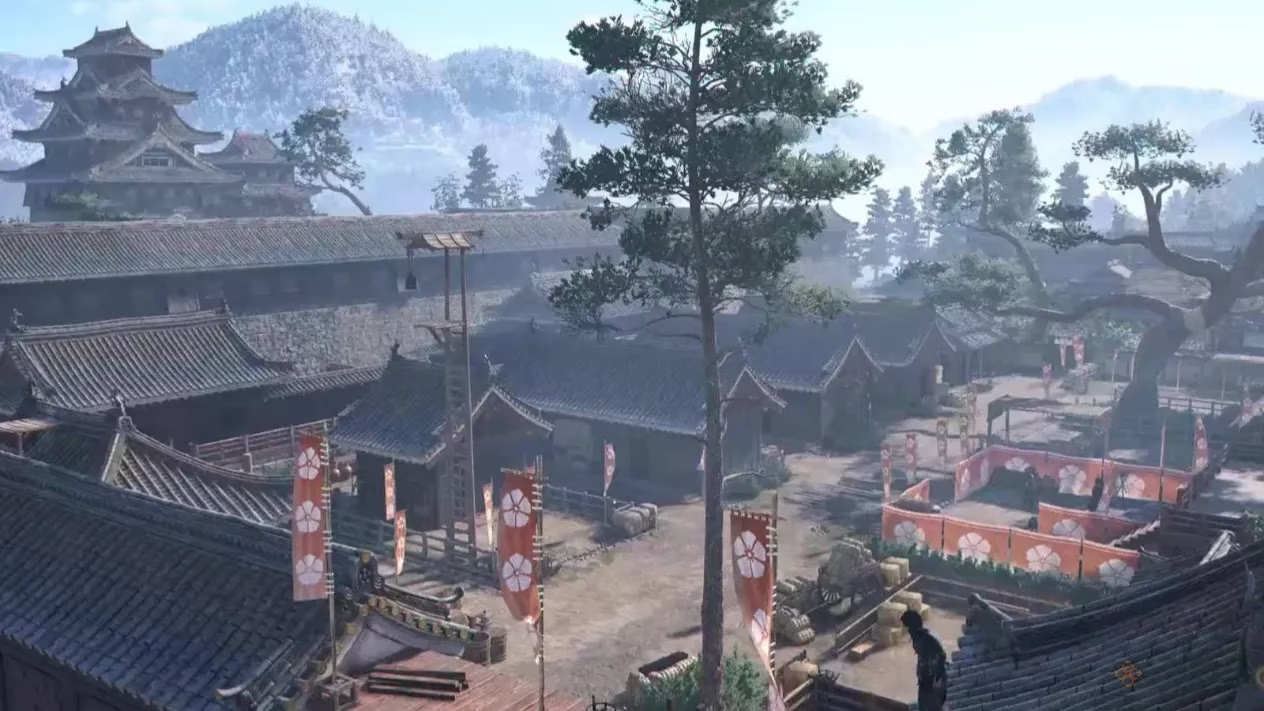
For anyone roaming the sprawling open world of Assassin's Creed Shadows, castles rank among the most rewarding activities scattered across the map. They demand patience, observation, and a fair bit of stealth, but they almost always pay off with meaningful gear and Hideout resources. Sakamoto Castle sits in that comfortable middle ground—it is not one of the toughest fortresses in the game, but it is far from a walk in the park. The real hurdle here is the layout, which offers only a handful of ways to maneuver through the outer and inner sections. One wrong move can quickly turn a quiet infiltration into a messy brawl.
Locating Sakamoto Castle
Sakamoto Castle is tucked into the Omi Region, along the southwest portion of Lake Biwa. It sits almost directly west across the water from Azuchi and extends out from a fairly busy urban area of Sakamoto. Because the castle backs up against the coast, its waterfront side offers some of the best opportunities for a clean approach. Players who scope out the shoreline before diving in will often find their patience rewarded.
Breaking In: Entry Points 🏯
The castle may look sealed off, but there are several ways inside. The water-side entrances on the east are usually the easiest to exploit. From there, a player can climb onto a rock and use a grapple line to crawl onto the wall, or quietly remove the single guard standing watch on the staircase. Other entry options include:
-
Northeast wall: Jump and grapple onto the wall where rock sits beneath it.
-
Northeast docks: Multiple docks lead into the castle, but they are guarded, so discretion is advised.
-
Western scaffolding: A large scaffold on the west side allows a player to climb up and over the wall.
-
Southwest pole: A small wooden pole juts out from a building on the other side of the moat, letting a player leap to the castle's outer wall.
The Three Samurai ⚔️
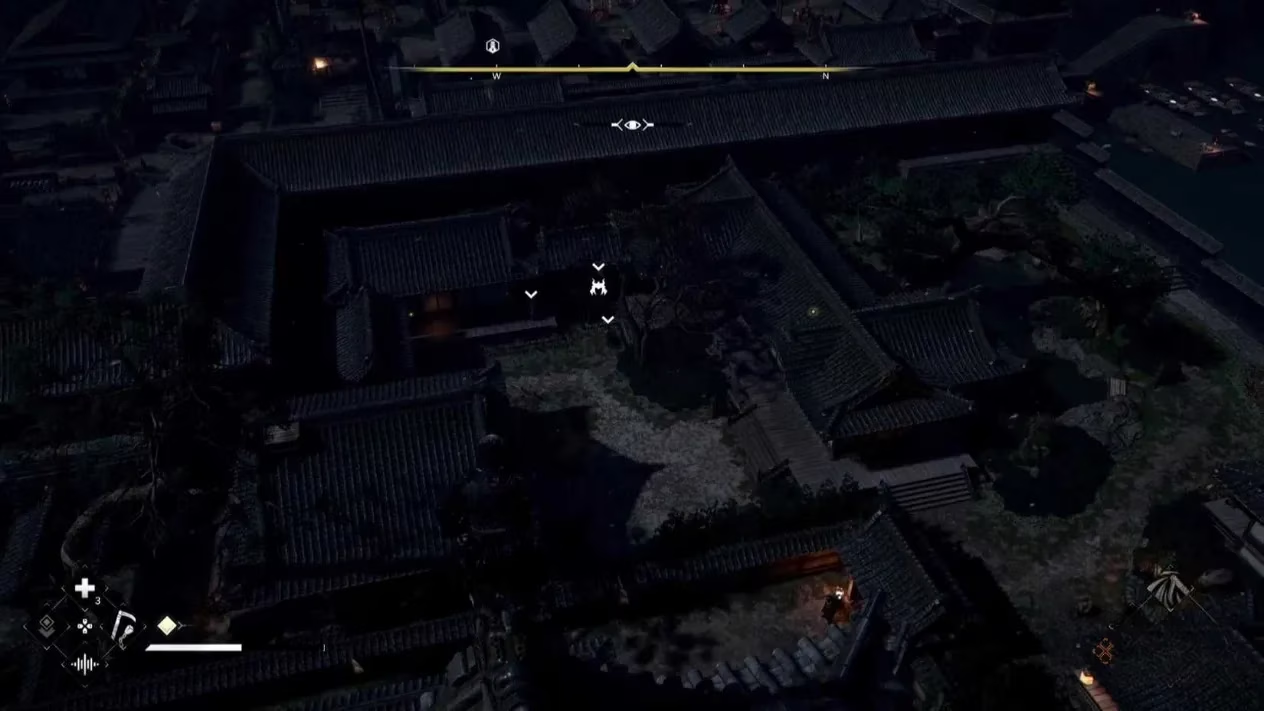
There are three Samurai to deal with inside Sakamoto Castle, and they are spread out enough that a careful player can isolate each one. The table below breaks down where to find them and what to keep an eye on.
| Samurai | Location | Notes |
|---|---|---|
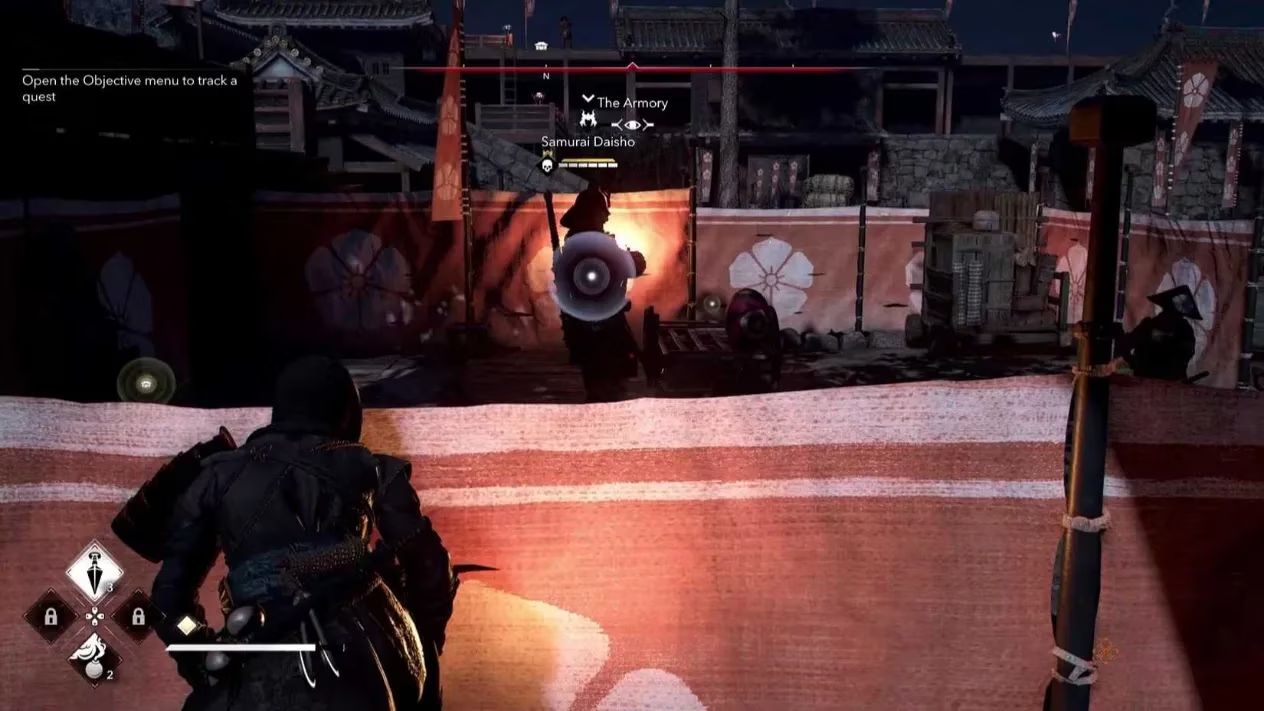
| First | Outer section, near the armory | Stands on a small wooden stage with two other enemies in front of him |
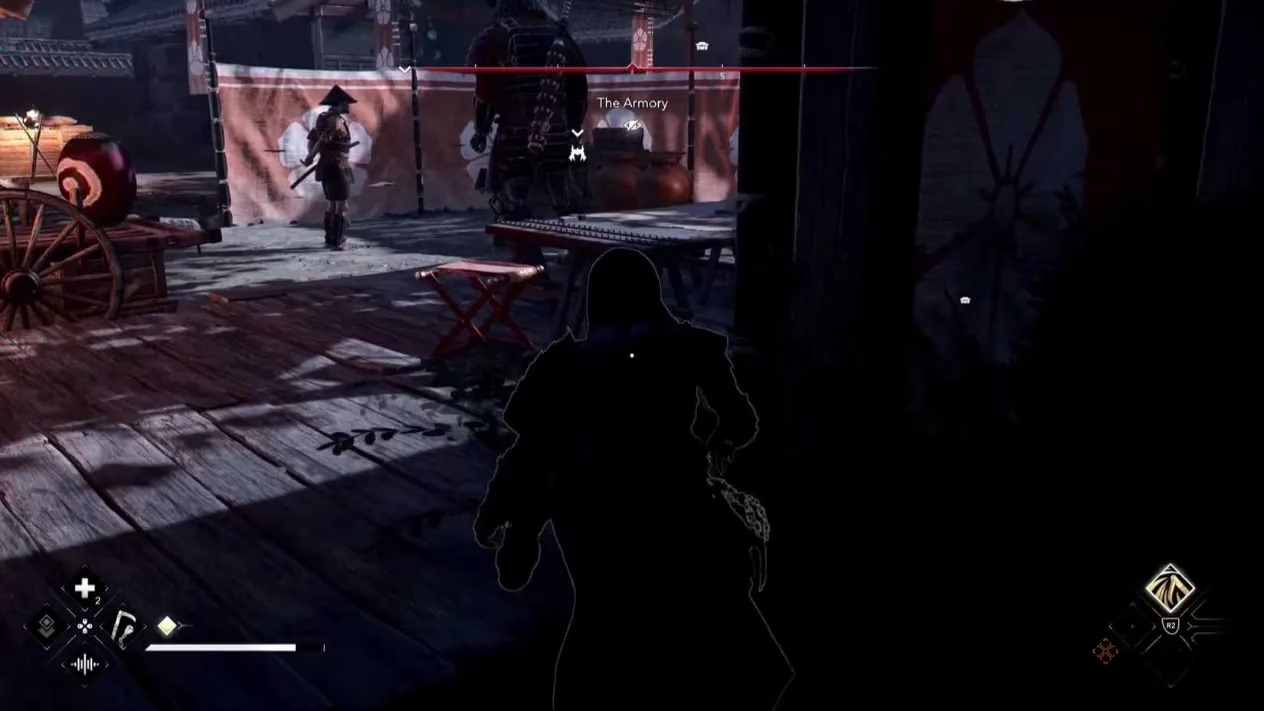
| Second | Inner castle section, almost directly east of the first | Watches a guard train; another guard to the east may spot a fight, so take that guard down first |
| Third | Third floor of the main castle building | Carries a weapon with serious reach; a straight fight can get dicey indoors |
The first samurai is not hidden, but the two enemies in front of him can complicate a quick assassination. Clearing or distracting them first makes the fight much simpler.
The second samurai lingers in the inner section and keeps an eye on a guard who is training. A player who wants to avoid an audience should deal with the extra guard to the east before starting anything.
The third samurai waits on the third floor of the main building. Their weapon has considerable reach, which matters less in open space but can be a real headache in a tight room. Stealth or a well-timed ability can take them out before the situation gets out of hand.
Legendary Chest and Loot 💡
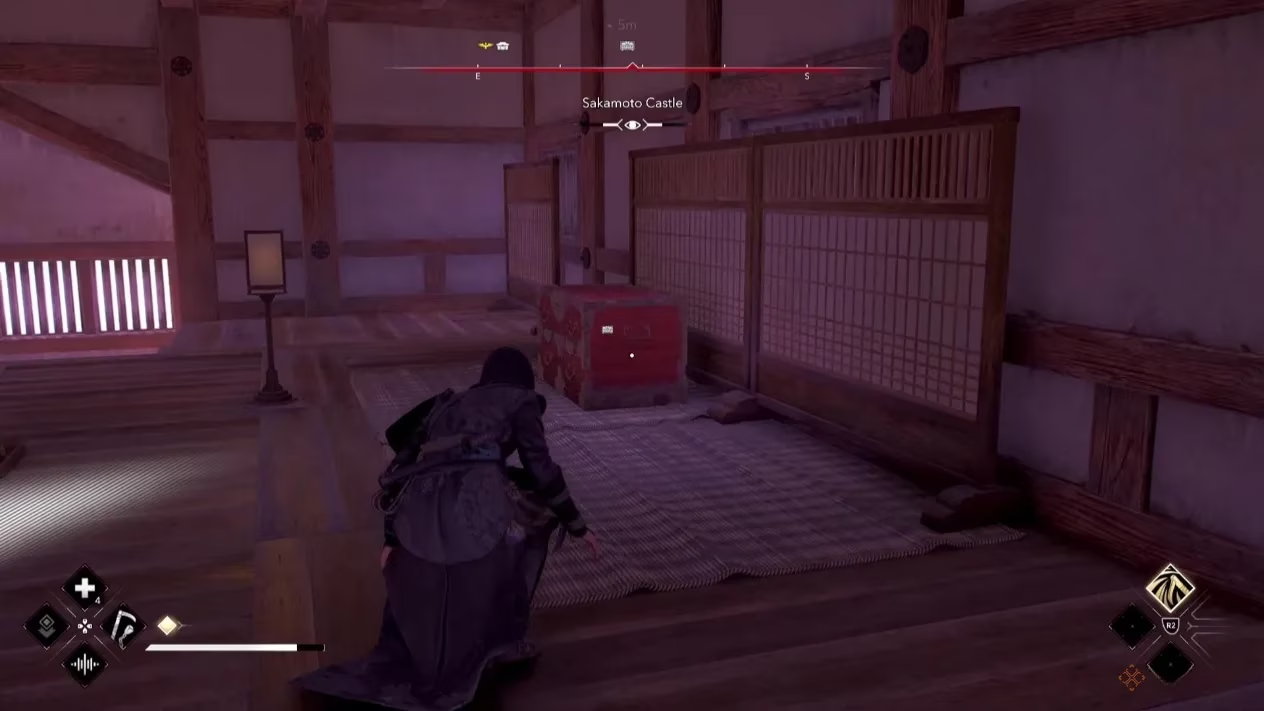
Once all three samurai have been dealt with, the legendary chest in the same room as the third samurai becomes accessible. Inside is the Ship Captain's Gear for Yasuke, which grants a 50 percent chance to ignore incoming ranged attacks. That is a solid reward for anyone who wants to close the gap on archers without getting turned into a pincushion.
Smuggler Resources 📦
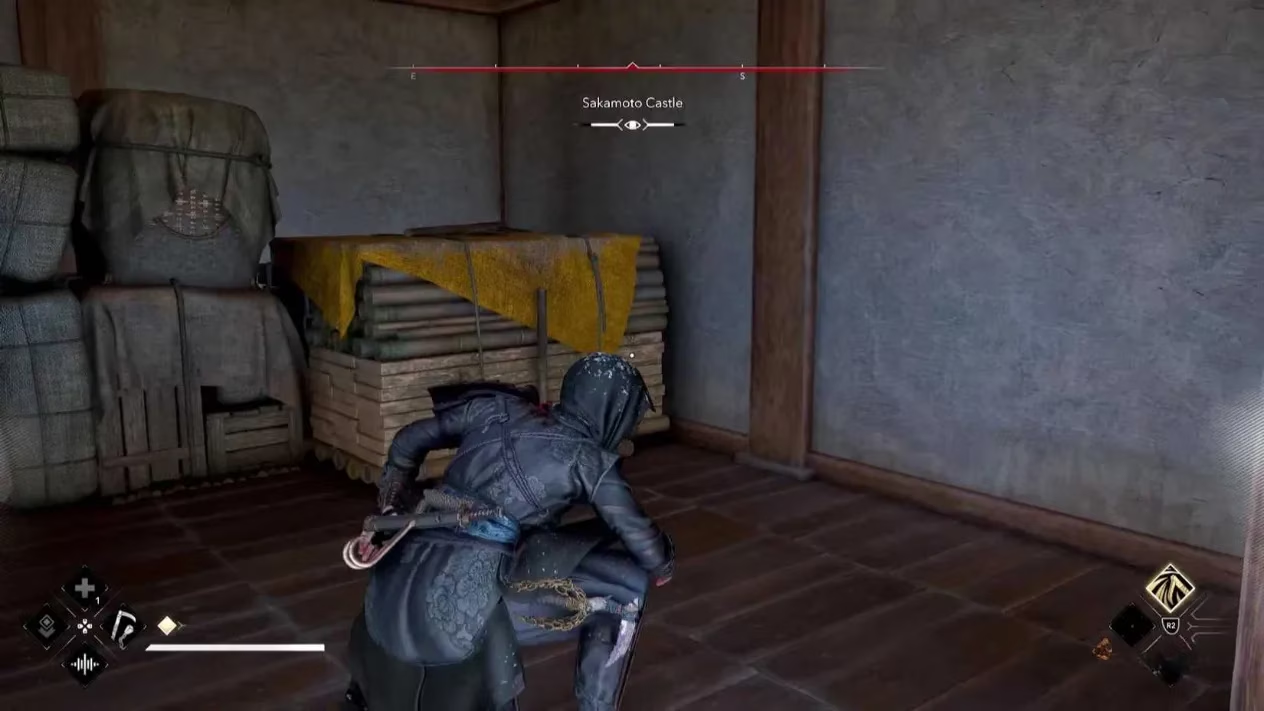
Directly south of the main castle, there is a locked building containing Smuggler Resources for the Hideout. Several guards around the grounds carry keys, but the guard patrolling in front of that building is the easiest target by proximity. Taking him down quietly is often the cleanest way to crack the door without stirring up the whole castle.
All in all, Sakamoto Castle is a worthwhile stop for any player moving through the Omi Region. It is not an overwhelming fortress, but it punishes careless movement. A patient approach, a good entry point, and a bit of situational awareness turn this middle-ground castle into a satisfying win. The loot is the cherry on top—especially that ranged-attack immunity gear for Yasuke.